
One of the most appealing things about making a customized leather wallet is, it is an exciting way to learn new things while saving money.
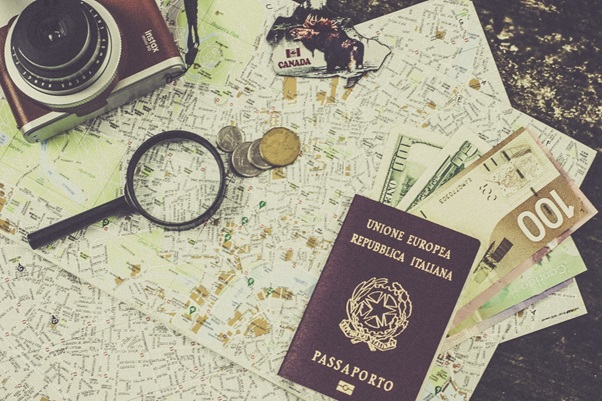
There are a lot of pretty enjoyable options out there, and creating acustom leather passport wallet is one of them.
From beam house to leather finish, the leatherclue has brought every step in a simplistic way of making leather passport wallet process for beginners.
Materials Needed for making a customized leather wallet:
- Leather
- Fabric
- Sewing machine
- Sewing tools such as leather needles
- Scissors
- Small binder clips
Measurement and cut
First, you need to use a metal ruler and rotary cutter to cut a piece of leather and patterned fabric. However, you can use measurement according to your choice, but 11×5-1/2 inches rectangular measurement would be an ideal size for making a passport wallet.
In the second step, put the fabric and leather pieces on top of one another, and ensure that the right side faces out. For holding the pieces together, you can use clips and put those clips on the centre. Before jumping ahead to the next step, a measure that all the pieces are perfectly placed, and alignment is correct.
However, if you are stitching leather using hand, use the metal ruler and spacer overstitch wheel to mark the spots for punching holes.
Now to secure the three outside edges of the side strips, you need to use the double-sided basting tape, to the underside of the larger rectangle including the wrong sides together. These will give the pockets for the back and front cover to slip the passport inside.
If you are using a machine, you need to use a leather sewing needle to sew the all around the edge of the passport cover. While sewing the edges of the cover, use1/2 seam allowance.
Now might be you are feeling exhausted, so take some time to relax and have a drink. Meanwhile, we get to the stamping section here.
For the hand sewers, you need to strike a hole at each and every mark which you had made through your spacer overstitch wheel.
So, now finally we are reaching to finish our sewing task. Now take a piece of waxed thread which should long enough to stitch the passport holder twice -to be extra safe. Go through one of the holes, and pull the yarn through, repeat the process for all spots. You can also sew around your passport handler back to the origin point applying the needles and then sew all around over with the second thread. The second thread should go into the opposing holes to fill in all the spaces for a constant stitch.
However, you can use the easier version you feel, and if your thread is in the same colour, you can try contrast stitching as it is more visible and attractive.
Now, as all the stitching has done, you can use stamping blocks, tusche, and emblems to customize the front of your passport holder. If you find that the stamp is not stamping evenly, in the middle thinner space, place two scrap layers of leather to make them all to the same thickness. Also, you can put two scrap layers of leather in the thinner middle section, to close it all with the same thickness. Use the stamp cleaner on a Q-tip to wipe up any stray paint spots after marking. Add initials to the inside flap to give it a personalized touch. Additionally, if you want to provide it with another indication, you can also stick your passport wallet into one of the side flaps and then can use the other to hold a bit of cash.
So, what you are waiting for. GO ON!!! Make your own passport cover, fir your passport into a new cover. BON VOYAGE!!

