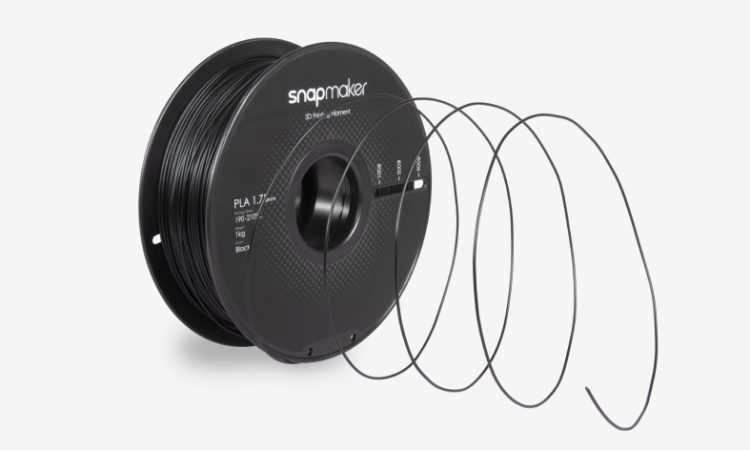
Conductive filaments enable hobbyists to 3D print functional electronic circuits, opening up possibilities for interactive gadgets like touch sensors, LED mounts, or wearable tech. These filaments, typically infused with conductive materials like carbon or graphene, allow printed parts to carry electrical current. For home workshop enthusiasts using entry-level 3D printer, mastering conductive filaments requires careful material selection, precise printing techniques, and circuit integration strategies. This guide provides practical tips to create reliable, functional circuits.
Understanding Conductive Filaments
Conductive filaments are polymer-based materials (often PLA or TPU) blended with conductive particles to enable electrical conductivity. Key types include:
- Conductive PLA: Easy to print, suitable for low-current applications like touch sensors or simple circuits. Resistivity is typically 0.5–10 Ω·cm.
- Conductive TPU: Flexible and ideal for wearable electronics, such as soft circuit paths. Slightly harder to print due to elasticity.
- Graphene-Based Filaments: Offer lower resistivity (0.1–1 Ω·cm) for more efficient circuits but may require advanced printers.
These filaments have higher resistance than metal wires, so they’re best for short, low-power paths. They’re also abrasive, requiring durable printer components.
Choosing the Right Conductive Filament
Select a 3D printer filament based on your project’s needs:
- Electrical Requirements: Check the filament’s resistivity (lower is better for efficiency). Conductive PLA suits simple sensors; graphene-based filaments are better for complex circuits.
- Flexibility: Use TPU for flexible applications like wearable patches. PLA is ideal for rigid structures like circuit boards.
- Printer Compatibility: Ensure your printer’s hotend supports 190–230°C for PLA or TPU. A hardened steel nozzle is recommended to handle abrasiveness.
For beginners, conductive PLA is the most accessible, offering decent conductivity and compatibility with budget printers.
Optimizing Print Settings for Conductive Filaments
Conductive filaments require precise settings to ensure consistent electrical performance and structural integrity:
- Nozzle Temperature: Set to 190–210°C for conductive PLA or 220–230°C for TPU. Higher temperatures may degrade conductive particles, increasing resistance.
- Bed Temperature: Use 50–60°C for PLA or 60–70°C for TPU to ensure adhesion. Apply a glue stick or blue painter’s tape on a PEI/glass bed.
- Print Speed: Slow speeds (25–40 mm/s) ensure uniform extrusion of conductive particles. Reduce outer wall speed (20–25 mm/s) for smoother paths.
- Layer Height: Use 0.2–0.3 mm for consistent conductivity. Thinner layers (0.1 mm) may disrupt particle alignment, increasing resistance.
- Retraction: Minimize retraction (0.5–1 mm for PLA, 1–2 mm for TPU) to prevent jams. Increase retraction speed (30–40 mm/s) to reduce stringing.
- Cooling: Moderate cooling (50–70% fan speed) balances layer adhesion and surface quality. Excessive cooling can weaken conductive paths.
Print a test strip (e.g., 50 mm x 5 mm) and measure its resistance with a multimeter to verify settings before printing complex circuits.
Designing Circuits for 3D Printing
Effective circuit design ensures reliable electrical performance:
- Path Geometry: Keep conductive paths short and wide (2–5 mm) to minimize resistance. Avoid sharp bends, which can disrupt particle alignment.
- Infill and Walls: Use 100% infill for conductive paths to maximize particle density. For non-conductive areas, pair with standard PLA at 20–30% infill.
- Multi-Material Printing: If your printer supports dual extrusion, combine conductive filament with standard PLA for insulating regions. Otherwise, pause prints to swap filaments manually.
- Component Integration: Design slots or cavities for embedding LEDs, resistors, or wires. Ensure tight tolerances (0.1–0.2 mm) for secure fits.
Use CAD software with electrical simulation (if available) to map current flow and identify high-resistance areas.
Integrating Electronics into Prints
To create functional gadgets:
- Connections: Solder wires or components directly to conductive paths for low-resistance contacts. Alternatively, use conductive epoxy for heat-sensitive filaments.
- Power Supply: Use low-voltage sources (3–5V) for safety and compatibility. Test circuits with a multimeter to ensure current flow meets design needs.
- Testing: Print a simple circuit (e.g., an LED loop with a battery) to verify conductivity before scaling up to complex designs like capacitive sensors.
Keep circuits simple, as high resistance limits conductive filaments to low-power applications.
Post-Processing for Circuit Reliability
Post-processing enhances functionality and durability:
- Sanding: Lightly sand (800–1200 grit) conductive paths to remove surface imperfections that increase resistance. Avoid over-sanding, which can disrupt particles.
- Insulation: Coat non-conductive areas with clear nail polish or resin to prevent short circuits. Test for continuity after coating.
- Component Securing: Use hot glue or epoxy to fix embedded components, ensuring stable electrical connections.
Test post-processed circuits under load to confirm performance.
Practical Tips for Home Workshops
- Nozzle Maintenance: Use a hardened steel nozzle to resist wear from abrasive particles. Clean the nozzle after each print to prevent clogs.
- Filament Storage: Store in airtight containers with desiccants to avoid moisture, which can cause inconsistent extrusion and higher resistance.
- Calibration: Regularly calibrate the extruder and bed to ensure precise filament deposition, critical for consistent conductivity.
- Safety: Work in a ventilated area, as conductive filaments may emit mild fumes. Avoid high-current applications to prevent overheating.
Troubleshooting Common Issues
- High Resistance: Ensure 100% infill for conductive paths and check for nozzle wear. Test filament quality with a multimeter.
- Poor Adhesion: Increase bed temperature or apply adhesion aids. Clean the bed to remove residue.
- Inconsistent Extrusion: Slow print speed or adjust flow rate (95–100%) to prevent under-extrusion.
Conclusion
Conductive filaments empower hobbyists to create interactive 3D-printed circuits for innovative gadgets. By selecting the right filament, optimizing print settings, designing efficient paths, and integrating electronics carefully, you can achieve reliable results on entry-level printers. Start with simple test circuits, refine your approach, and build functional, creative projects in your home workshop.


